



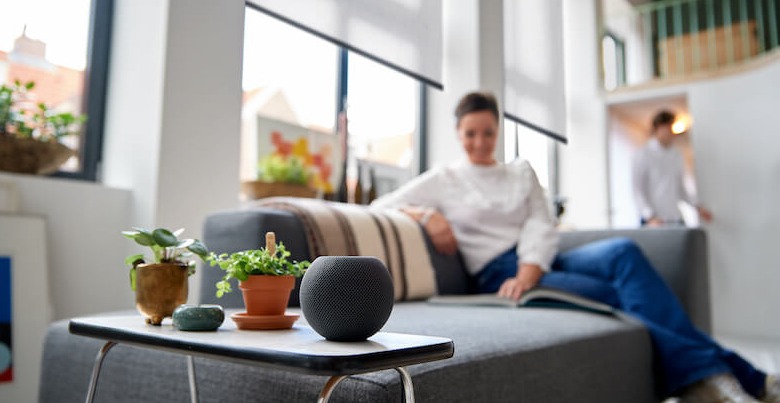

Apple HomeKit is a very popular smart home system all over the world. For much people, smart home systems and apps often can be a little complicated and all the information can be experienced as overwhelming. That's why Smartblinds explains you all the basic skills you need to use Apple HomeKit. In this article, we take you by the hand step by step in how to add your smart home devices to your Apple HomeKit App. By doing this, you don't have to face any problems while installing your smart home devices to your system.
To connect your smart home device to Apple HomeKit, you surely need a device which is suitable with Apple HomeKit. But how do you know your device can be connected to Apple HomeKit?
When a smart home device is compatible with Apple HomeKit, it is recognisable from the sticker on the packaging of the smart device. The sticker often looks like the image here. When you have the devices you want, you can start adding them to your Apple HomeKit App.

If you want to start connecting your device to your Apple smart home, of course, you must first have downloaded the Apple Home app on your smartphone. As an iPhone user, you have this app on your phone by default, so this step is probably unnecessary. Apple HomeKit does not support Android devices. Therefore, Apple HomeKit is usually only suitable for people who already have several Apple devices in their home. Make sure your home has a strong Wi-Fi network. This will make your experience with Apple HomeKit faster and smoother. Ready to add your first device? Follow the steps below!
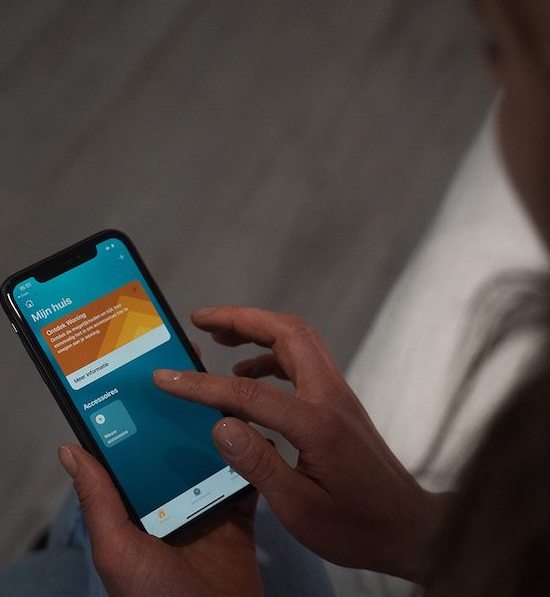
Open the Apple HomeKit Home-app on your iPhone.
At the right side at the top of your screen is a '+' button. Here you can choose between option like 'add a new room', 'add new people' or even 'add a new home'. The option you need to click is 'add a accessory'.
To add a new accessory to your Apple Home, you need to scan the setup QR-Code on your device. An other option is to hold your iPhone close to your device, but this isn't possible by all accessories.
After scanning the setup QR-Code, the device will pop up in your screen with a button 'Connect to your home'. By clicking this button, the device will start connecting to your Apple smart home.
Give your device a nice or fun nickname and save it. After doing this, you can start adding your devices to rooms! Perfect for the overview of your smart home and easy when you want to create automations in your rooms!
Have you successfully added your first device to your Apple smart home? Then it's time to expand your smart home with even more smart devices to create the complete smart home experience. With an Apple HomePod Mini you can expand your smart home possibilities with voice control. It's also possible to connect your automations to a voice command. For example, with the voice command 'Goodmorning', you can make your HomePod play specific selected music and your smart lighting will start shining light very slowly. Add a Smartblind to your room and your will have the full smart home wake up experience!
You need a HomeKit‑compatible device (look for the HomeKit logo on the packaging), the Apple Home app on your iPhone or iPad, and a stable Wi‑Fi network to make setup smoother. Apple HomeKit does not support Android devices.
If a device isn’t HomeKit‑certified, doesn’t have a QR code, or doesn’t support Matter, the Home app may not recognize it. Also ensure your iPhone/iPad and HomeKit hardware are updated, and Bluetooth is enabled during pairing.
Yes. After adding a device, you can assign it to specific rooms or zones, rename it, and control it with Siri or the Home app. This makes it easier to use devices in scenes and automations later.
Yes. Once a device is added to Apple HomeKit and assigned to a hub like HomePod or Apple TV, you can control it using Siri voice commands, create voice‑activated scenes, and include it in automations.
If adding fails, make sure the QR code is scanned properly, your iPhone or iPad is close to the accessory, and all devices are on the same network. Updating iOS and restarting the Home app can also help.